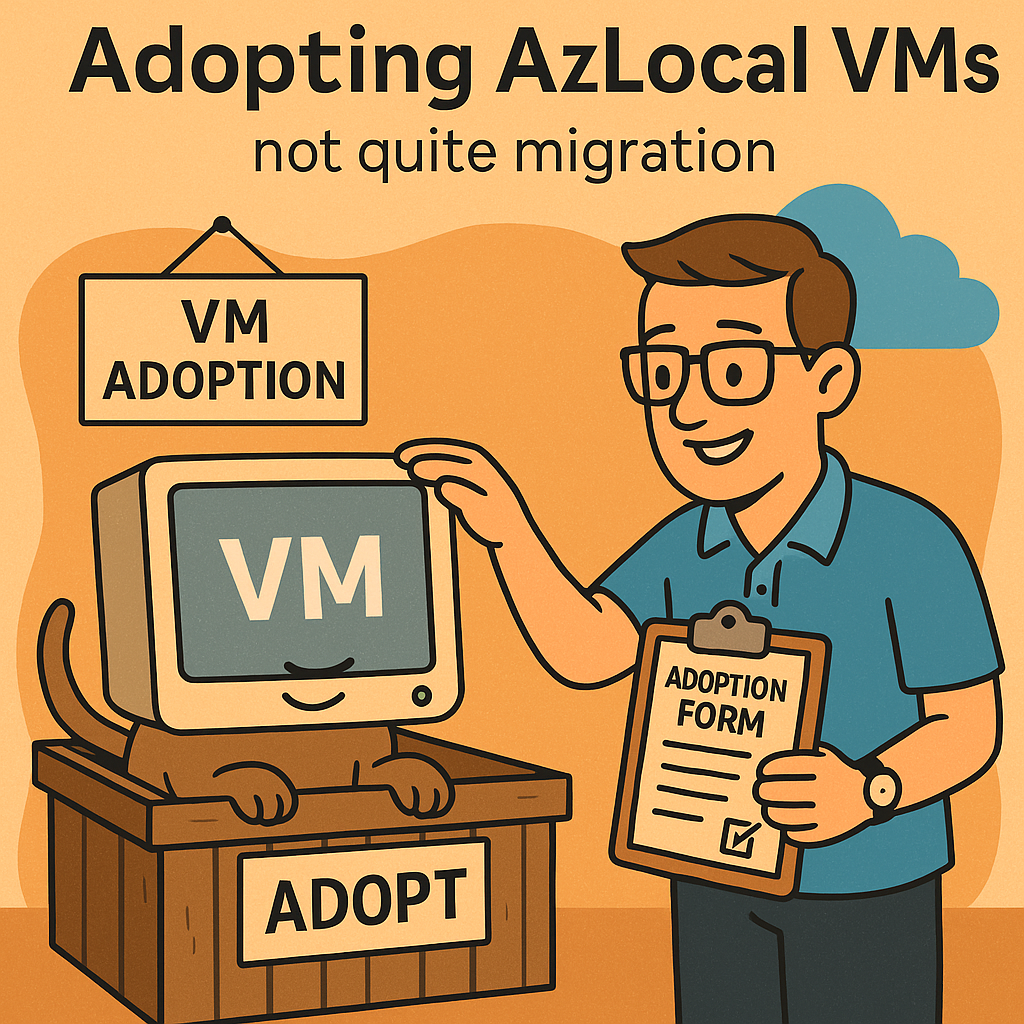
Adopting AzLocal VMs
This post is all about taking an existing Hyper-V VM and making it an AzLocal VM - so you can manage it from Azure Local like it’s always belonged there.
It’s not quite a migration (nothing’s being migrated cross-platform), and it’s not a full “hydration” either.
Think of it as adopting a VM into Azure Local - keep your data, get the AzLocal VM benefits.
VMs are VMs… unless they’re running in IaaS … or in a hybrid space where a control plane kinda makes them look like IaaS, but they’re actually just good ol’ fashioned virtualization - kinda.
Confused yet? Yeah. Let’s break this down …
The Basics: What Makes a VM a VM
At their core, all VMs have a few key aspects:
- Runtime – the VM itself, happily running an OS of your choice, doing whatever job you gave it (serving web pages, crunching numbers, hoarding cat GIFs … no judgment).
- CRUD operations – your ability to create, read, update, and delete the VM-resources. Think power on/off, add disks, tweak NICs, and so on.
- Management layer – seeing CPU usage, monitoring health, collecting logs, and all that “are you still alive?” stuff.
Where Azure Local Fits In
With Azure Local, the runtime stays the same - it’s still your VM running on a local hypervisor (“the” local Hyper-V). But the management pieces get enhanced by having them projected into Azure via Azure Arc components, same for the AzLocal part itself (but that’s a different story - more info).
That means your on-prem VM becomes an AzLocal VM - a resource that Azure Local can manage like it was born in the cloud (even if it was very much born in your server rack).
The magic sauce behind this includes:
- Azure Arc Resource Bridge
- Custom Location enabled in your subscription
- Kubernetes extension for VM operators (the on-prem twin of Azure Resource Manager’s VM provider)
- Arc for Servers agent (aka Azure Connected Machine agent) for guest management
More details here:
Azure Arc VM Management Overview
Once this stack is in place, you can create new Azure Local VMs, ooooor… you can onboard existing Hyper-V VMs through either a migration process or using Azure CLI to “somewhat create” the right resources, in the right order, and turn the unmanaged Hyper-V VM into an AzLocal VM (this is what we’ll do in this article).
When You Already Have a Hyper-V VM
If you’ve got an existing Hyper-V VM - maybe you created it locally, maybe you moved it from another Hyper-V environment - you’ll need to prep it a bit, for it to be an AzLocal VM. The process might look complex, but it’s fairly direct and scriptable (once you understand it):

Multiple VMs? You’re going to want a script.
Gen1 VMs (like from Azure Stack Hub)? That’s a different beast entirely - we’ll tackle that in a future post (soon™).
For now, let’s walk through a single VM example.
Example VM
We’ve got a Windows Server 2025 VM running IIS, with:
- 1 OS disk
- 8 GB RAM
- 6 vCPUs
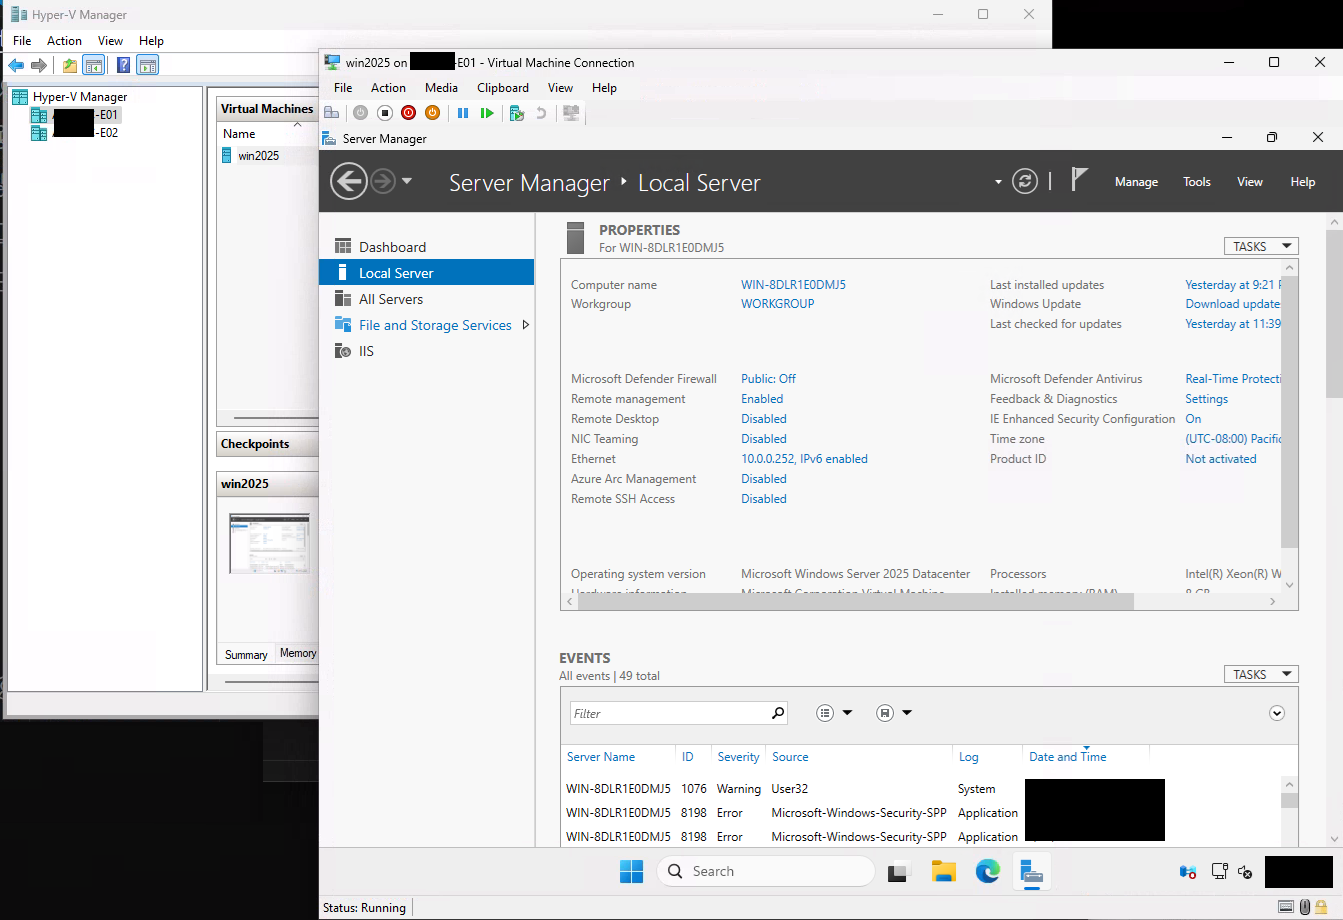
Running unmanaged on Azure Local host ..E01 and running an important, production type, application:
First, you can pull the VM’s details (run this on the host where the VM is running) - these will help shape the decisions later on.
1
2
3
4
5
6
7
8
9
10
11
12
13
14
15
16
17
18
19
20
21
22
23
24
25
$vm = Get-VM -Name "win2025"
$cpu = Get-VMProcessor -VMName $vm.Name
$mem = Get-VMMemory -VMName $vm.Name

# Disks
$rows = @()
$hdds = Get-VMHardDiskDrive -VMName $vm.Name

foreach ($d in $hdds) {
  $vhd = Get-VHD -Path $d.Path
  $diskBase = [System.IO.Path]::GetFileNameWithoutExtension($d.Path)
  $diskExt  = [System.IO.Path]::GetExtension($d.Path)
  $swapName = "${diskBase}-swap${diskExt}"
  $sizeGB   = [int][math]::Ceiling($vhd.Size / 1GB)

  $rows += [pscustomobject]@{
    swapName   = $swapName
    sizeGB     = $sizeGB
    memStartup = [int][math]::Ceiling($mem.Startup / 1GB)
    memDynamic = $mem.DynamicMemoryEnabled
    cpuCount   = $cpu.Count
  }
}

$rows | Format-Table swapName, sizeGB, memStartup, memDynamic, cpuCount -AutoSize
We’ll need this info shortly.
SVCCM - Steps for Virtualizing, Configuring, Connecting, and Managing your AzLocal VM
Create the resources which will be used by your AzLocal VM:
- Create vNICs
- Create placeholder disks
- Swap the placeholders with your real disks
- Create the AzLocal VM
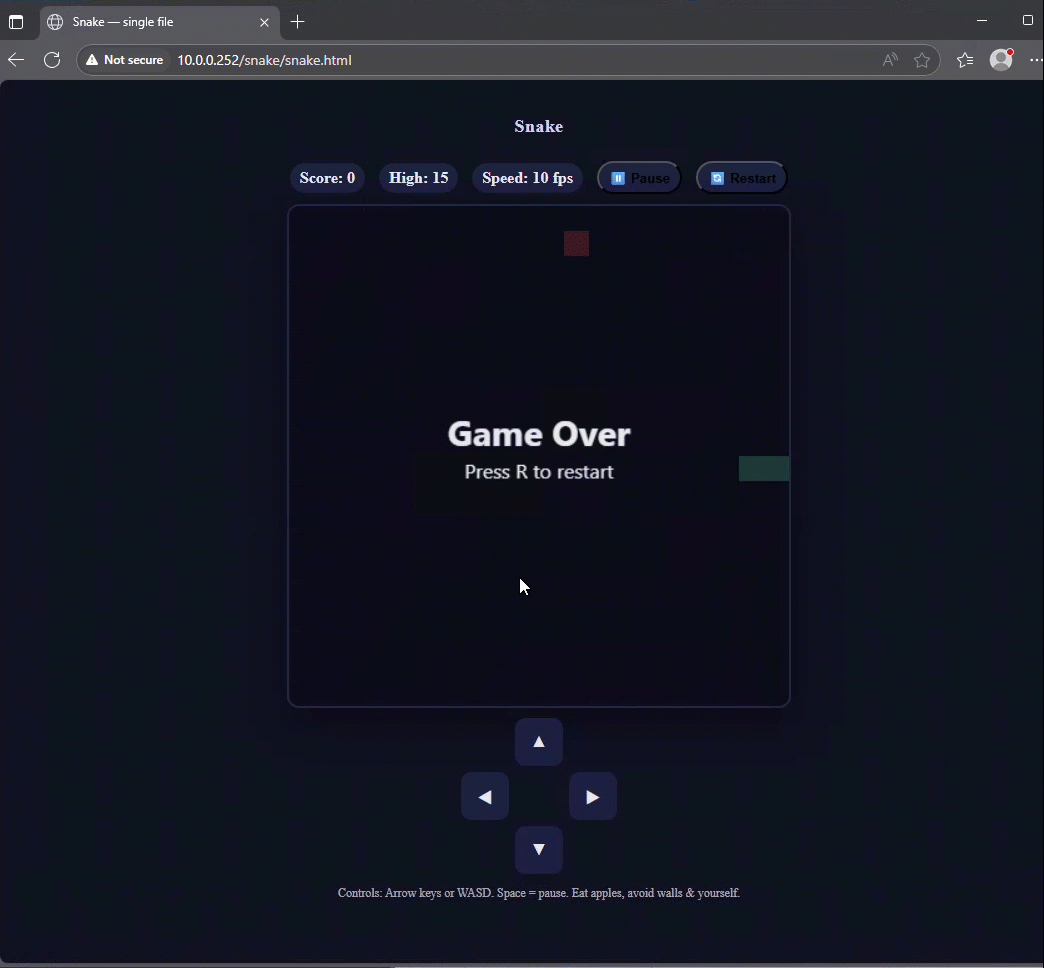
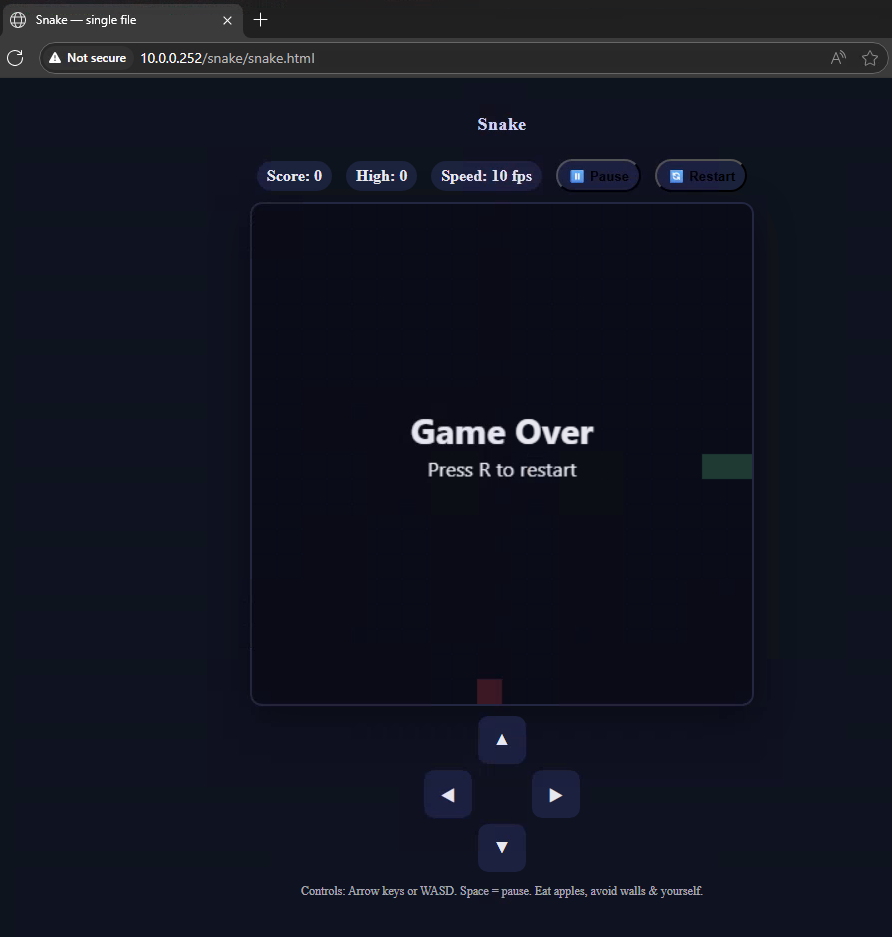
Everything is done in Azure, through CLI, but before you start - shut down your source Hyper-V VM. (Yes, even if it’s running Snake. Or especially if it’s running Snake.)
Easiest option is to use Azure CloudShell, but other options will work fine as well. Make sure you are connected to the right subscription and in the right context.
1. Create NIC(s)
1
2
3
4
5
6
7
8
9
10
11
12
13
14
$lnetName = "lnetname"
$nicName ="targetVM-NIC1"
$subscription = "subID"
$resource_group = "RGname"
$customLocationID = "/subscriptions/<subID>/resourceGroups/<RGname>/providers/Microsoft.ExtendedLocation/customLocations/<s-cluster-customlocation>"
$location = "AzLocalRegion"

az stack-hci-vm network nic create `
  --subscription $subscription `
  --resource-group $resource_group `
  --custom-location $customLocationID `
  --location $location `
  --name $nicName `
  --subnet-id $lnetName
More info around working with AzLocal NICs.
2. Create a Placeholder OS Disk
This will be a disk, which we will use only temporarily, to swap with our source VM disk. Only the name of the disk will matter.
1
2
3
4
5
6
7
8
9
10
11
12
13
14
15
16
$resourceGroup = "RGname"
$customLocation = "/subscriptions/<SubID>/resourcegroups/<RGname>/providers/microsoft.extendedlocation/customlocations/<s-cluster-customlocation>"
$location = "AzLocalRegion"
$sizeGb = 127
$diskName = "VM1diskOS"
$storagePathId = "/subscriptions/<subID>/resourceGroups/<RGname>/providers/Microsoft.AzureStackHCI/storageContainers/<yourStoragePath>"
$diskFileFormat = "vhdx"

az stack-hci-vm disk create `
  --resource-group $resourceGroup `
  --custom-location $customLocation `
  --location $location `
  --size-gb $sizeGb `
  --name $diskName `
  --storage-path-id $storagePathId `
  --disk-file-format $diskFileFormat
Note: Once created, save the disk’s full ID (
/subscriptions/.../virtualHardDisks/<name>). You’ll need it when creating the VM.
3. Swap the Placeholder Disk
Find your placeholder disk in $storagePathId. It’ll be in a GUID-named folder (together with the rest of the disks from the AzLocal VMs created). Replace it with your real disk, keeping the exact same filename (which will be the name you’ve selected, the SubID, and RG name).
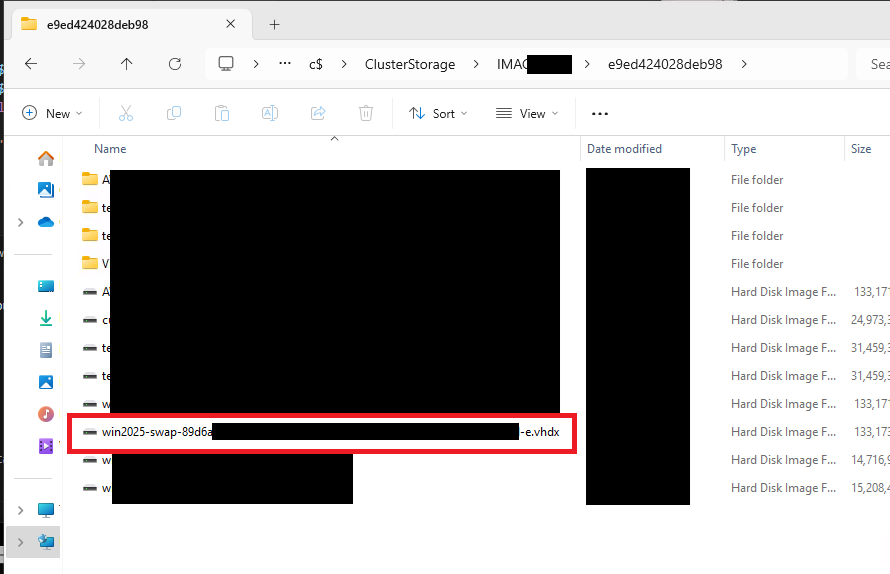
You can either rename your source disk and use something like:
1
Move-Item .\pathToSourceDisk .\pathToClusterStorage\placeholderDiskName -Force
Or:
- Copy your source disk into the folder
- Rename the placeholder to something else
- Rename your source disk to match the placeholder’s original name
4. Create the Azure Local VM
1
2
3
4
5
6
7
8
9
10
11
12
13
14
15
16
17
18
19
20
21
22
23
24
25
26
27
28
29
$resourceGroup = "RGname"
$customLocation = "/subscriptions/<subID>/resourcegroups/<RGname>/providers/microsoft.extendedlocation/customlocations/<s-cluster-customlocation>"
$location = "AzLocalRegion"
$size = "Default"
$storagePathId = "/subscriptions/<subID>/resourceGroups/<RGname>/providers/Microsoft.AzureStackHCI/storageContainers/<yourStoragePath>"
$vmName = "VMname"
$osDiskName = "/subscriptions/<subID>/resourceGroups/<RGname>/providers/Microsoft.AzureStackHCI/virtualHardDisks/<diskname>"
$osType = "windows"
$nic1 = "/subscriptions/<subID>/resourceGroups/<RGname>/providers/Microsoft.AzureStackHCI/networkInterfaces/<nicName>"

$enableAgent = "false"
$enableVmConfigAgent = "false"
$enableVtpm = "true"
$enableSecureBoot = "true"

az stack-hci-vm create `
  --resource-group $resourceGroup `
  --custom-location $customLocation `
  --location $location `
  --size $size `
  --storage-path-id $storagePathId `
  --name $vmName `
  --os-disk-name $osDiskName `
  --os-type $osType `
  --enable-agent $enableAgent `
  --enable-vm-config-agent $enableVmConfigAgent `
  --enable-vtpm $enableVtpm `
  --enable-secure-boot $enableSecureBoot `
  --nics $nic1
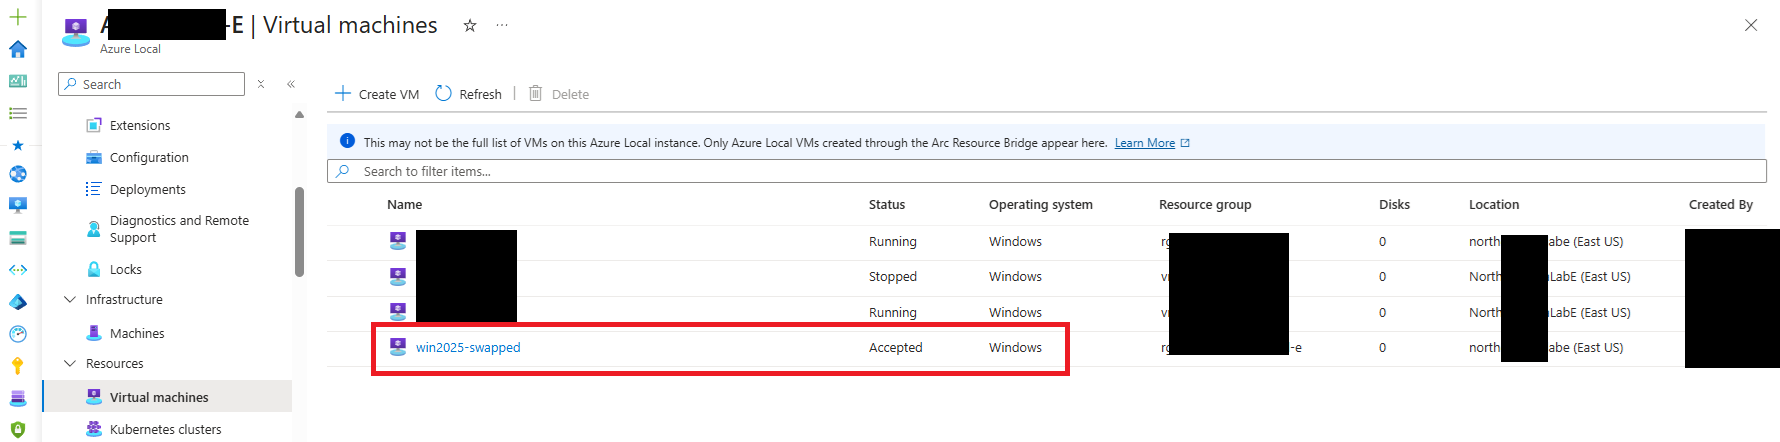
Once accepted, the AzLocal VM creation will take a little time, but you should start seeing the VM in the Azure Local blade, under VMs.
Wrapping Up
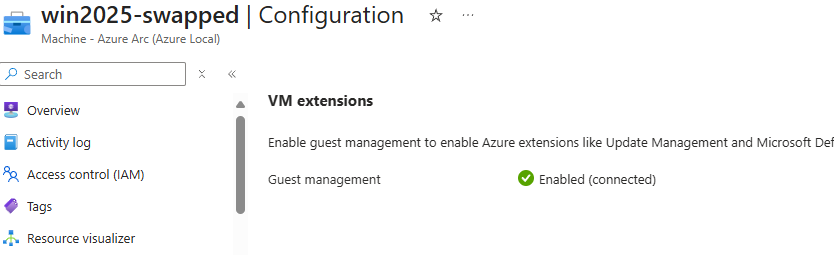
After the creation actions complete, the new AzLocal VM will appear in the Azure Local blade. Once it hits Running, you can enable Guest Management - which involves running a script inside the VM.
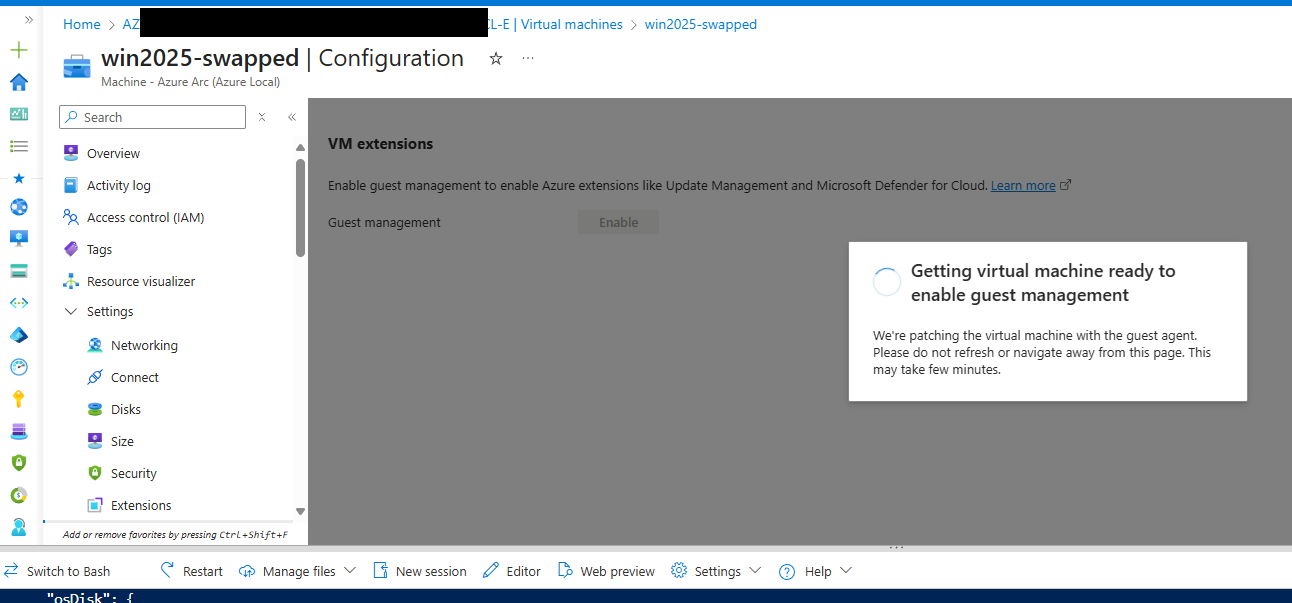
Wait a few minutes after enabling it, and you’ll have full Azure Local-powered management over your previously “unmanaged/just Hyper-V” VM. Update the IP config, check that you can connect and everything is running as expected and …
And that’s it - one small step for you, one giant leap for your hybrid cloud setup. (Also one giant leap in the number of PS and GUIDs in your clipboard.)
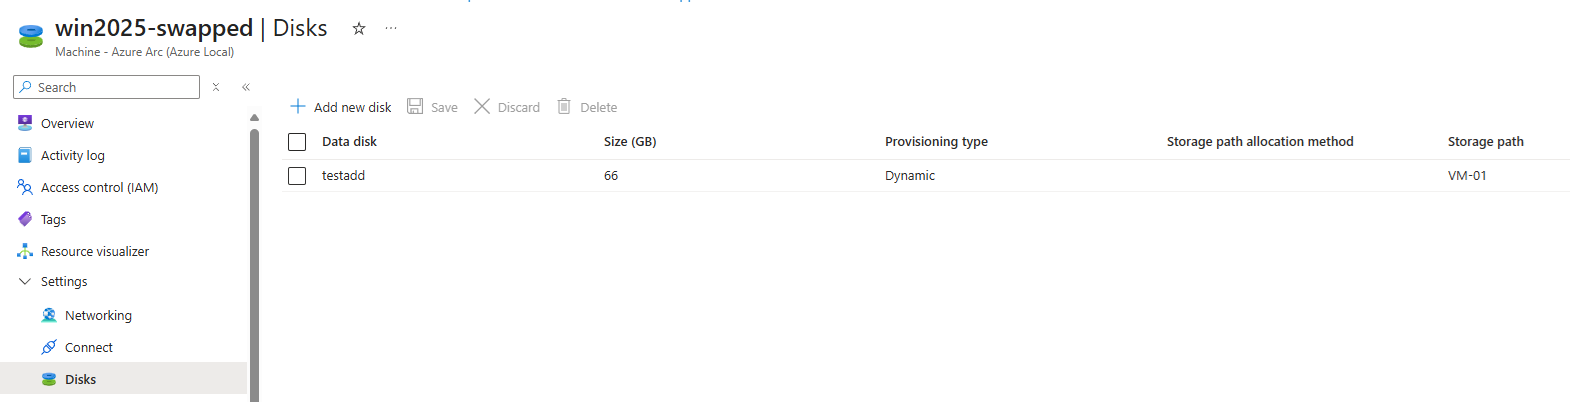
The AzLocal VM can now be managed from the Azure Portal, turned on or off, and you can add additional disks from the portal.
And the important production apps can now resume:
What’s Next
This was the single-VM path - good for learning the ropes and proving it out. Next up (soon(tm)), few more things around:
- Bulk onboarding – script this out so you can adopt dozens of VMs in one go. (Nobody wants to hand-swap disks forever.)
- Gen1 VMs – if you’ve got older workloads (Azure Stack Hub, wink wink), the flow is different.
- Guest management deep dive – enabling extensions, policy, and patching through Azure Local for your onboarded VMs.
- Disks and networking – working with multiple NICs, data disks, and attaching/detaching storage on the fly.
- Automation – ARM templates, Bicep, or Terraform to standardize AzLocal VM adoption.
Think of this post as the “hello world” of AzLocal VM adoption.
```